How To Add Pinstripes To Your Car

Creating pinstripes on your car using vinyl tape is a relatively easy process. Here's a step-by-step guide to help you:
- Gather the necessary materials: You will need vinyl tape in the desired color and width for your pinstripes, a measuring tape or ruler, a clean cloth, rubbing alcohol or a mild detergent, a Precision Gliding Knife and a squeegee with felt tips.
- Prepare the car: Start by thoroughly cleaning the area where you want to apply the pinstripes. Use rubbing alcohol or a mild detergent to remove any dirt, wax, or grease. Ensure that the surface is completely dry before proceeding.
- Plan the design: Decide on the placement and spacing of your pinstripes. You can use a measuring tape or ruler to help you achieve equal distances and straight lines. Mark the positions with masking tape if needed. You can find our collection of Tape Rolls here.
- Cut the vinyl tape: Measure and cut the vinyl tape into sections that match the length of each pinstripe. It's a good idea to cut the pieces slightly longer than needed to allow for adjustment during the installation process.
- Start applying the pinstripes: Peel off the backing of the vinyl tape, exposing the adhesive side. Align one end of the tape with your marked position and slowly press it onto the car's surface, following the desired line. Use your fingers to apply even pressure and avoid air bubbles.
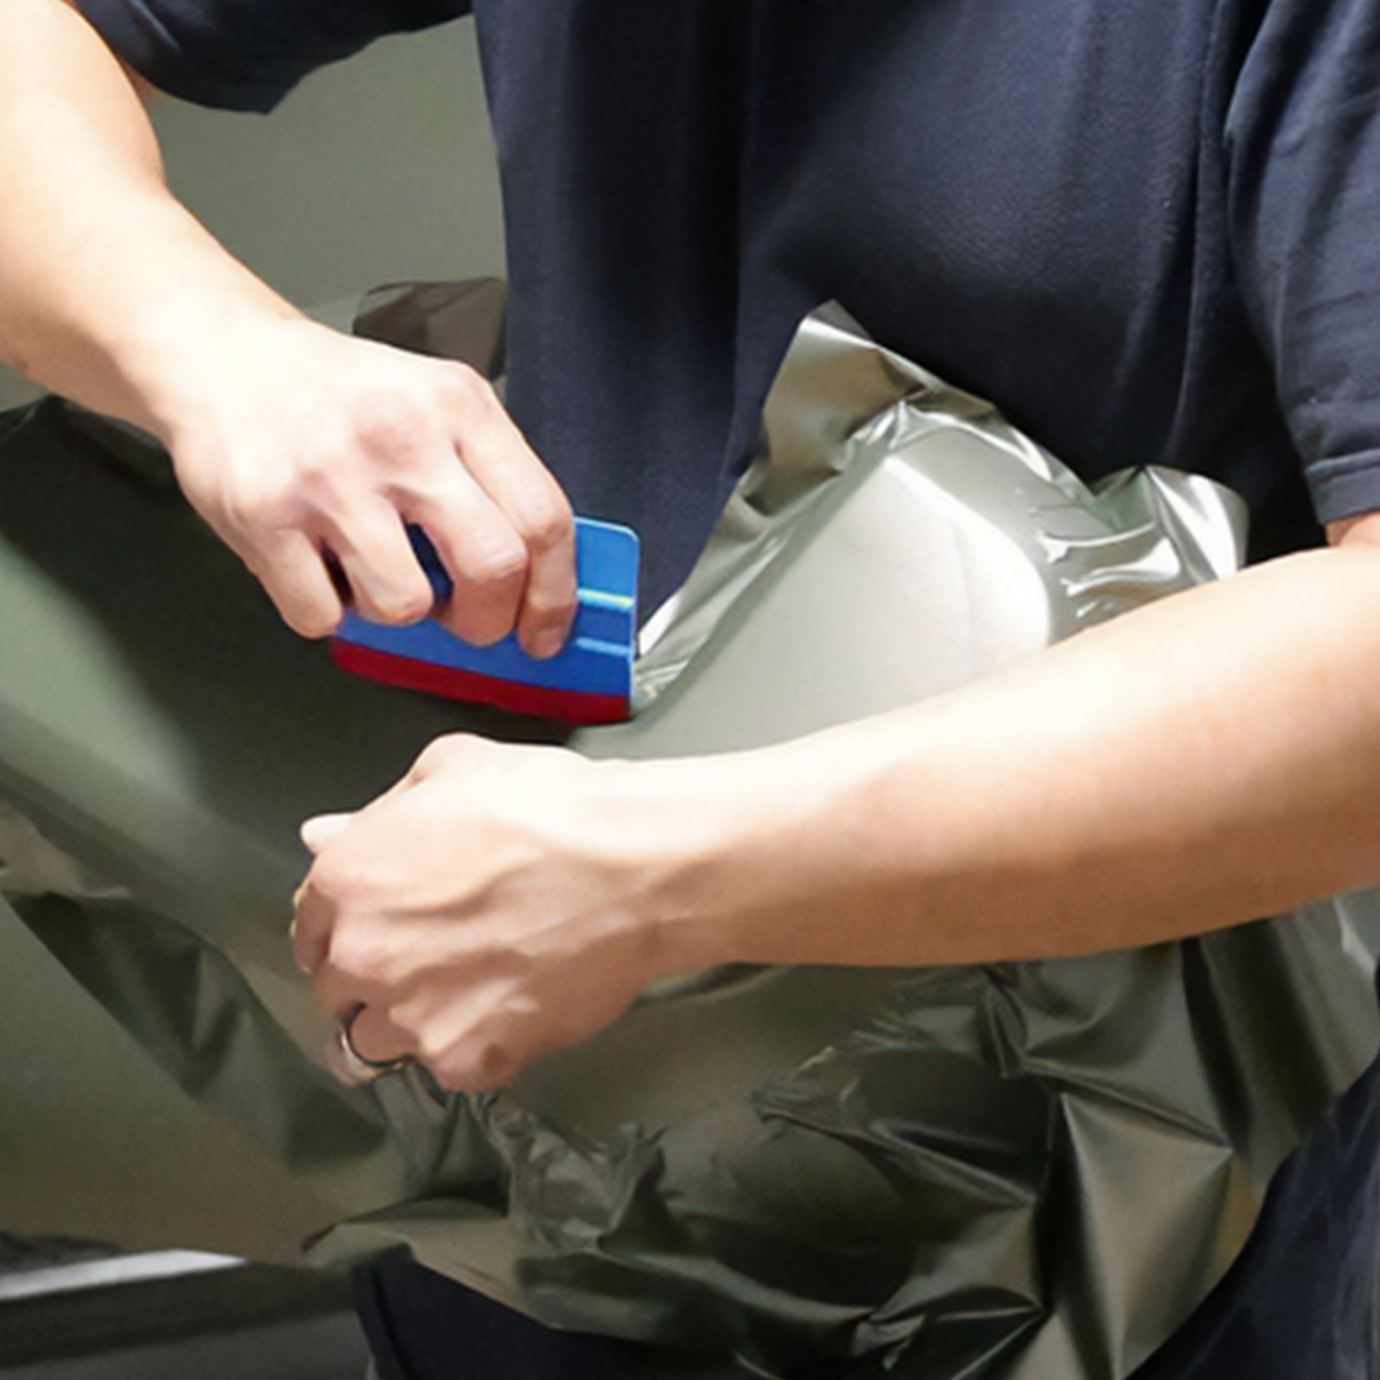
- Smooth out the tape: Once the tape is applied, use a squeegee or credit card to firmly press down on the tape, ensuring it adheres well to the surface. Start from the center and work your way outward, smoothing out any wrinkles or bubbles as you go. Evenly apply heat to the smoothed out vinyl to activate the adhesive of the tape.
- Trim the excess: Once the pinstripe is applied, use a sharp utility knife or scissors to carefully trim the excess tape at the ends. Take your time to ensure clean, precise cuts.
- Repeat the process: Repeat steps 5 to 7 for each pinstripe, working methodically to maintain consistency in spacing and alignment.
- Final touches: Once all the pinstripes are applied and trimmed, go over them with the squeegee or credit card again to ensure they are securely adhered and smooth.
Remember, practice patience and take your time during the installation process to achieve the best results. If you make any mistakes or encounter difficulties, you can gently lift the vinyl tape and reposition it before firmly pressing it down.
Note: Post heat the vinyl to activate the adhesive in the vinyl.
Try out some of these classic combos when adding pinstripes to your car!

Previous article

What Do I Need to Vinyl Wrap a Car?
Next article

How to Chrome Delete